
A TV that looks level for one week and starts tilting the next is usually a warning sign, not a small cosmetic issue. Drywall can hide a lot, but it is not forgiving when a heavy screen is pulling in the wrong place. If you want a clean setup without cracked walls, loose brackets, or a dangerous fall, the mounting method matters.
For most homeowners and renters, the safest approach is simpler than it sounds – attach the mount to wood studs, use hardware rated for the TV and mount weight, and avoid trusting drywall anchors for a full-size television. That is the short version. The part that saves you stress is knowing when that rule changes, what tools you actually need, and where people usually get into trouble.
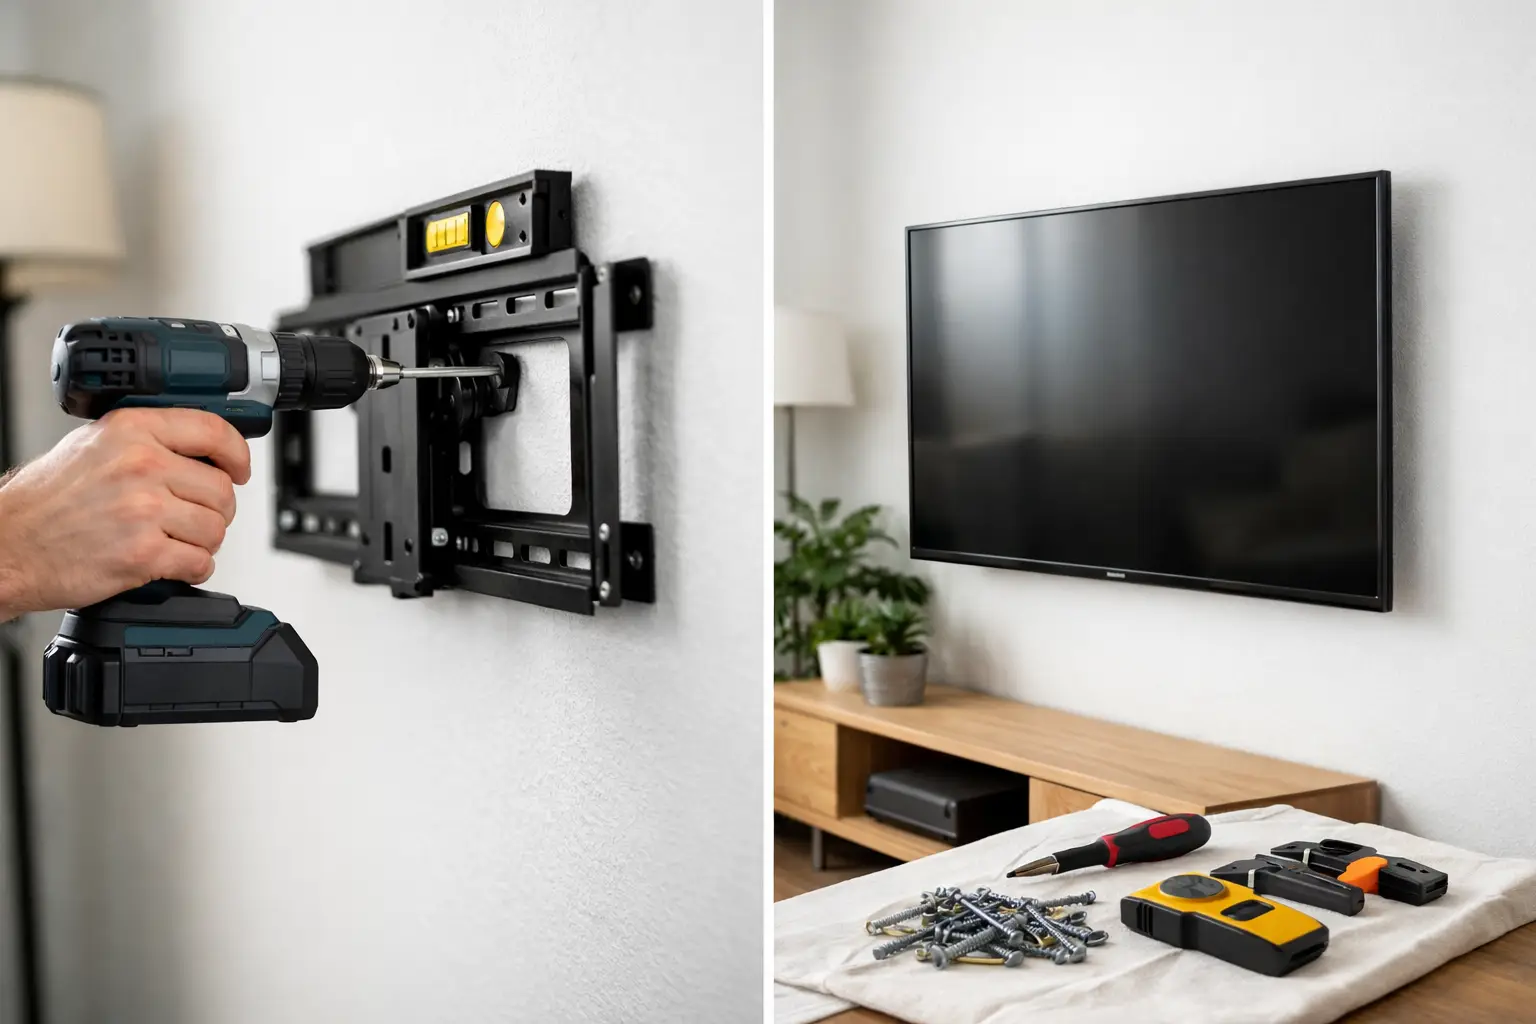
How to mount a TV on drywall safely
If you are figuring out how to mount a tv on drywall safely, start with one assumption: the drywall itself is not the structural support. It is the surface layer. The real support should come from the framing behind it, usually wood studs.
That distinction is what keeps the installation secure over time. A few anchors may feel tight when you first install the bracket, but TVs create ongoing force. There is downward weight, slight forward pull, and in many homes, repeated movement from adjusting an articulating arm or reconnecting cables. Drywall alone does not handle those forces well.
The safest setup is a fixed or tilting mount lag-bolted into at least one, and ideally two, studs. Some mounts are designed to span wider distances or use a mounting plate that catches two studs easily. Others may require a little more planning to place the screen exactly where you want it.
What drywall can and cannot hold
Drywall is great for finishing a room. It is not great at carrying a heavy dynamic load. That is why the phrase “mounted on drywall” can be misleading. Yes, the bracket sits against drywall. No, the drywall should not be doing the hard work.
Small lightweight items can use drywall anchors. A television is different. Even a modest 55-inch TV may not seem heavy on paper, but once it is hanging several inches off the wall, the leverage increases the strain on the fasteners. An articulating mount makes that even more demanding because the TV extends away from the wall and shifts the load forward.
There are limited cases where specialty anchors or mounting systems are used without studs, but those are not the default safe choice for most homes. If you are mounting a larger screen, using a full-motion arm, or want long-term peace of mind, studs are the standard for a reason.
The mount type changes the risk
A slim fixed mount puts less strain on the wall than a full-motion mount. That matters. If your TV stays close to the wall and rarely moves, the load is more straightforward. If the mount swings, pulls out, or angles often, the stress on the wall hardware increases.
So when people ask how to mount a tv on drywall safely, the answer depends partly on the style of mount. The more movement you want, the more important solid stud attachment becomes.
The tools and prep that make the job safer
A successful install usually comes down to careful prep, not brute force. You need a stud finder you trust, a level, a drill, the correct drill bit size for pilot holes, a socket wrench or driver for lag bolts, a tape measure, and the mounting hardware specified by the mount manufacturer.
A second person also matters more than most people expect. They help confirm placement, hold the bracket, and lift the TV safely onto the wall plate. Trying to do that part alone is where a lot of wall damage and screen damage happens.
Before drilling anything, verify four things: the TV size and weight, the mount’s weight rating, the stud location, and the viewing height. If even one of those is off, you can end up patching holes and starting over.
Finding studs the right way
Stud finders are helpful, but they are not perfect. Run the finder slowly, mark both edges of the stud, and locate the center. Then check again above and below to confirm the same line. In many homes, studs are spaced 16 inches apart on center, but you should not assume that without checking.
If the readings seem inconsistent, look for electrical outlets nearby. Studs are often located to one side of an outlet box, which can give you a clue. You still need to confirm carefully before drilling.
The safest installation approach
Once the stud centers are marked, hold the wall plate in place and use a level to make sure it is straight. Mark the drill points on the stud locations, then drill pilot holes. Pilot holes are not optional. They help prevent splitting the stud and make it easier to drive the lag bolts straight.
Next, attach the wall plate using the included lag bolts and washers. Tighten them snugly, but do not overtighten to the point of damaging the drywall or stripping the wood. The bracket should feel completely solid with no wobble.
Then install the TV-side brackets according to the mount instructions. This step sounds simple, but it is worth double-checking screw length and spacer use. Screws that are too long can damage the back of the TV. Screws that are too short may not hold properly.
With two people, lift the TV onto the mounted wall plate and secure any locking tabs or safety screws. Before letting go completely, confirm that the TV is fully seated on the bracket.
Where DIY jobs often go wrong
Most failed installations do not happen because the wall is weak. They happen because one detail was rushed. Common problems include missing the stud center, using the wrong lag bolt length, skipping pilot holes, relying on drywall anchors for a large TV, or choosing a full-motion mount for a wall location that cannot properly support it.
Another common issue is placement. If the mount lands too high, too low, or off-center to the room, people sometimes redrill several times. That weakens the area and turns a simple install into a patch-and-paint project.
Renters and tricky wall situations
If you rent, you may also need to think about lease terms and wall repair. A proper TV mount usually leaves larger holes than a standard picture hook, especially when lag bolts go into studs. That does not mean mounting is off the table. It just means the job should be planned carefully so the wall can be repaired cleanly later if needed.
Some wall situations also call for extra caution. Metal studs, older plaster-over-drywall assemblies, fireplace walls, and walls with hidden plumbing or electrical lines can all change the installation method. This is where “safe” stops being a basic checklist and starts depending on the structure behind the wall.
If you are unsure what is inside the wall, guessing is the risky part.
When professional help makes more sense
There is a point where saving an hour of labor is not worth risking a cracked screen, damaged drywall, or a bracket that slowly pulls loose. If your TV is large, your mount articulates, your studs are not lining up with the desired placement, or you simply want it done once and done right, professional installation is usually the lower-stress option.
That is especially true for busy households, new move-ins, and anyone trying to knock out multiple setup tasks at once. A secure mount is not just about getting the TV on the wall. It is about cable placement, clean alignment, safe hardware, and confidence that it will stay put.
For homeowners and renters in Austin and Central Texas, Smart Solutions TX can help take this off your list with stress-free service, background-checked technicians, and the kind of careful installation that protects both your wall and your TV. Sometimes peace of mind is the smartest part of the setup.
A good mount should feel boring
That may sound odd, but it is true. Once your TV is mounted safely, you should not be thinking about the bracket, the drywall, or whether the screen shifted overnight. It should feel solid, level, and completely uneventful.
That is the goal. Not a dramatic DIY win. Not a close enough install. Just a secure setup that lets you enjoy the room without wondering if the wall can handle it.